Simple, Fresh, and Versatile Recipes for Any Kitchen

My Fiancé Loves Cottage Cheese: How We Make It Ourselves
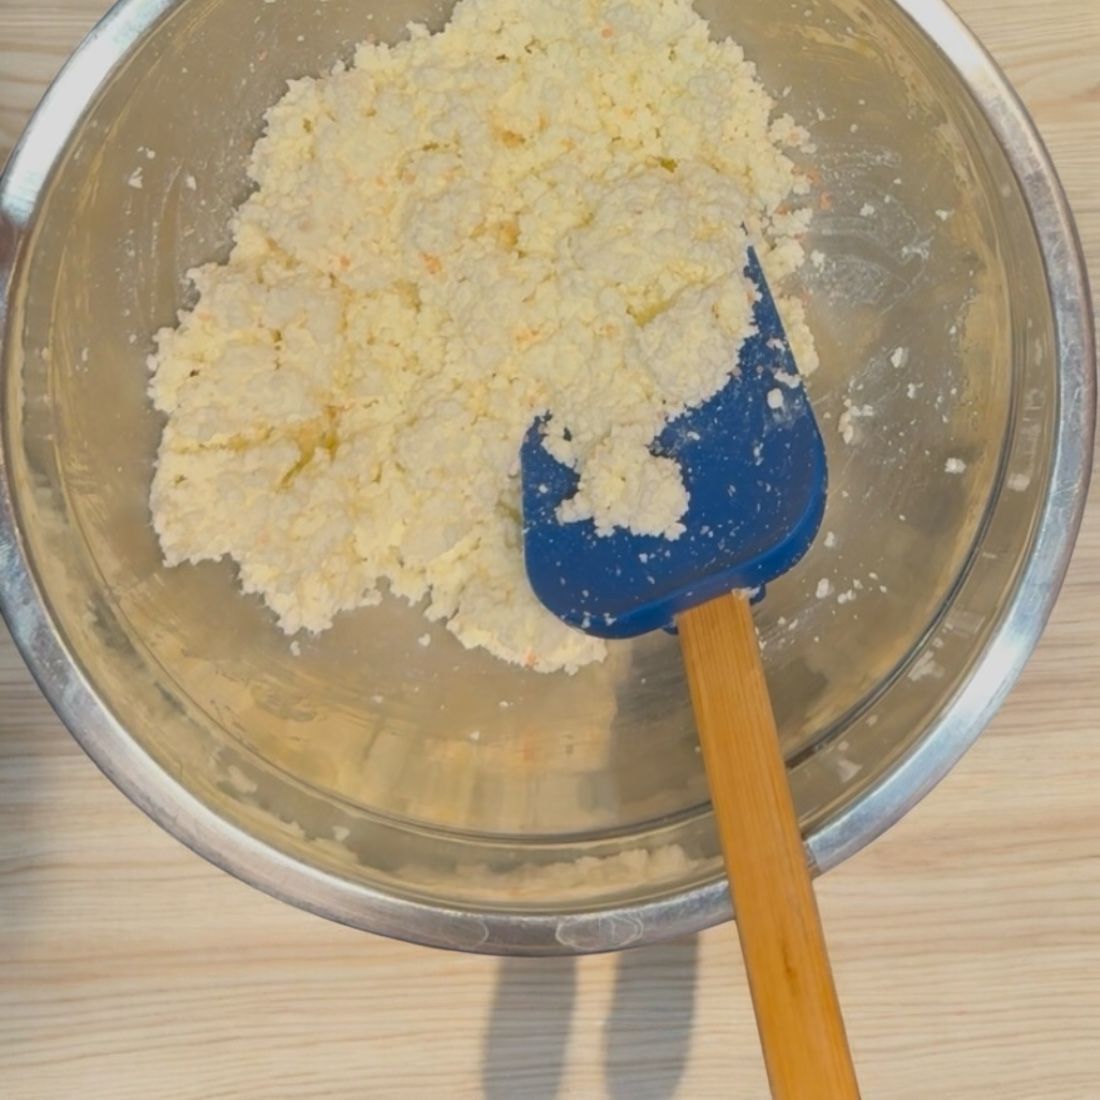
Cottage cheese is a big hit in our house! My fiancé loves pairing it with rice crackers as a dip, layering it in lasagna, or experimenting with new recipes that call for this creamy treat. However, living in a rural area means we sometimes face challenges like the local store running out, delayed shipments due to storms, or just not making it to town. So, I decided to research how to make cottage cheese at home – and it’s a game changer!
Not only is it simple, but there’s an added bonus: I can make ricotta cheese from the leftover whey. Two recipes in one! Let me share the process with you.
Homemade Cottage Cheese Recipe
Ingredients:
- 2 liters of milk (anything from skim to whole milk works; choose based on your desired creaminess and fat content)
- 1/4 cup to 3/4 cup of white vinegar (you can substitute apple cider vinegar or lemon juice, but white vinegar is my preference)
- Salt to taste
- Cream (optional, for added creaminess)
Instructions:
- Heat the Milk: Pour the milk into a large pot and heat it gently, stirring frequently to prevent burning. Heat until it just reaches the boiling point.
- Add the Vinegar: Remove the pot from the heat and stir in the vinegar. Stir gently, then let it sit for at least 30 minutes. This allows the curds to form. Stir occasionally, and if needed, add a little more vinegar to help the process along.
- Strain the Curds: Pour the mixture into a strainer lined with cheesecloth and rinse the curds under cold water. Let it drain completely.
- Season and Finish: Add salt to taste, and for a creamier texture, mix in a bit of cream.
What Is Whey?
Whey is the liquid that separates from the curds during the cheesemaking process. It’s packed with protein, probiotics, and nutrients, making it a versatile ingredient. Rather than discarding it, you can use whey in a variety of ways (see ideas below). It’s a fantastic way to reduce waste while adding value to your recipes and garden!
Storage:
- Store in an airtight container in the fridge for up to one week.
- Freeze for later use by portioning into servings, sealing in freezer-safe bags or containers, and labeling with the date.
How to Freeze and Thaw Cottage Cheese
Freezing:
- Portion the cottage cheese into serving sizes.
- Place portions into freezer-safe bags or airtight containers.
- Label each container with the date.
- Freeze for up to 3 months.
Thawing:
- Place the frozen cottage cheese in the refrigerator overnight.
- Stir gently after thawing to restore consistency.
Tip: Full-fat cottage cheese freezes better than low-fat varieties, and for best results, freeze it as fresh as possible.
Homemade Ricotta Cheese Recipe
Ingredients:
- Leftover whey from cottage cheese
- 3/4 cup cream
- 1 tablespoon vinegar
- Salt to taste
Instructions:
- Prepare the Whey: Pour the leftover whey into a large pot. Add the cream and whisk together.
- Heat the Mixture: Heat to 195°F, then turn off the heat.
- Add the Vinegar: Stir in the vinegar and let the mixture rest for 10 minutes.
- Strain the Ricotta: Ladle the mixture into a strainer lined with muslin or cheesecloth. Let it drain completely. It may look milky at first, but the liquid will separate.
- Season and Store: Transfer the ricotta to a container, add salt to taste, and for extra creaminess, mix in a bit of the whey.
Storage:
- Store in the fridge for up to one week.
- Freeze for up to 3 months.
Ideas for Using Ricotta Cheese
- Ricotta pasta
- Lemon ricotta squares
- Stuffed jumbo shells
- Gnocchi
Bonus: Uses for Leftover Whey
Don’t toss that whey! Here are some creative ways to use it:
- Substitute for water or buttermilk in recipes.
- Add to smoothies or milkshakes for extra protein and probiotics.
- Use as a soil amendment for acid-loving plants.
- Spray on leaves to combat powdery mildew.
- As a starter culture for fermented foods.
- Soak grains, nuts, and seeds.
With these simple recipes, you can enjoy fresh, homemade cheese anytime while making the most of every ingredient. Happy cheesemaking!
Plant seeds of kindness, water them with love, and watch your life grow beautifully simple.
More Dawn's Simple Life inspirations
